1 Pre-Installation Requirements
1.1 Structural Verification
Before proceeding with installation, verify that the floor can support the weight of the tub filled with water and people.
WARNING: For installations on floors or mezzanines, consult a structural engineer to verify load capacity.

1.2 Required Space
Allow sufficient space around the tub for:
- Comfortable access for entry and exit
- Routine and extraordinary maintenance
- Inspection of hydraulic and electrical systems
- Adequate room ventilation
NOTE: Leave at least 50-60 cm of free space on at least one long side for access to the pump and technical components.
1.3 Environmental Requirements
| Parameter | Requirement |
|---|---|
| Room temperature | 15-30°C |
| Relative humidity | <70% |
| Ventilation | Natural or forced |
| Waterproofing | Floor and walls |
| Lighting | Adequate for safety |
2 Support Base Preparation
2.1 Leveling
- Check floor flatness with a long spirit level (min 1 meter)
- Check that there are no excessive differences in level
- If necessary, level with self-leveling screed
- Wait for complete drying of the screed before proceeding
WARNING: An unleveled base causes drainage problems, pump noise and possible structural damage.
2.2 Waterproofing
- Apply waterproofing membrane on the floor
- Extend the membrane on the walls for at least 20-30 cm in height
- Carefully seal corners and critical points
- Check the integrity of the membrane before placing the tub
3 Hydraulic Installation
3.1 Required Materials
- Hot and cold water supply pipes
- Drain pipe
- Trap with integrated overflow
- Shut-off valves
- Compliant gaskets and fittings
3.2 Supply Connection
- Install shut-off valves on hot and cold water
- Connect supply pipes to the tub fittings
- Verify that fittings have gaskets
- Tighten fittings without excessive force
- Gradually open valves and check for leaks
NOTE: Always use fittings with new gaskets. Do not reuse used gaskets.
3.3 Drain Connection
- Position the trap under the tub drain hole
- Connect the overflow pipe to the trap (if present)
- Check gasket seal
- Connect the trap drain to the domestic drain network
- Ensure the drain pipe has a minimum slope of 2%
- Seal all connections with silicone sealant
WARNING: The trap must always be accessible for maintenance and cleaning.
3.4 Hydraulic Test
- Close the tub drain
- Fill the tub to the overflow edge
- Check for leaks at all fittings
- Open the drain and verify regular flow
- Check overflow operation
4 Electrical Installation
DANGER: Electrical installation must be performed by qualified personnel.
4.1 Regulatory Requirements
- Compliance with CEI 64-8 standard section 701 (bathroom areas)
- Installation performed by licensed electrician
- Compliance with bathroom safety zones
4.2 Mandatory Protections
| Protection | Specification |
|---|---|
| Residual current device | <30mA type A or B |
| Circuit breaker | Adequate for power rating |
| Grounding | Compliant system |
| Equipotential bonding | Metal mass connection |
4.3 Connection Procedure
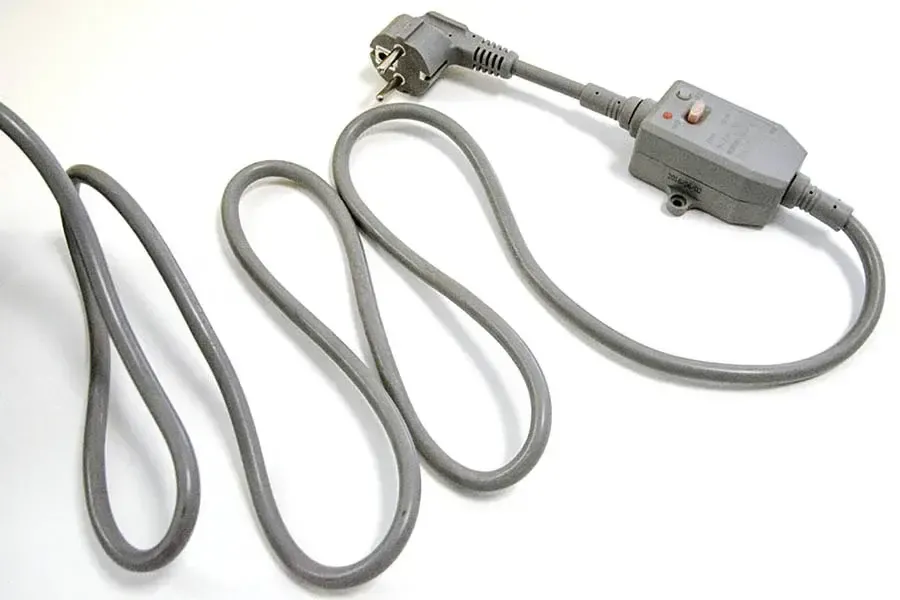
- Install 16A Schuko socket with minimum IP44 protection
- Position the socket outside bathroom zone 2 (beyond 60 cm from tub edge)
- Protect the line with dedicated <30mA residual current device
- Use socket with protected contacts
WARNING: The socket must always be accessible for emergency disconnection.
4.4 Equipotential Bonding
- Identify all metal masses in the room (pipes, radiators, structures)
- Connect masses to equipotential node with minimum 6mm² conductors
- Connect the tub metal mass to the equipotential node
- Verify connection continuity with tester
5 Tub Positioning
5.1 Handling
- Handle the tub with at least 2-3 people
- Lift the tub keeping it always level
- Avoid impacts against walls or doors during transport
- Position the tub approximately in the final position
WARNING: Never drag the tub on the floor. Always lift it completely.
5.2 Final Leveling
- Place the spirit level on the tub edge at multiple points
- Adjust the support feet to achieve perfect leveling
- Check tub stability by pressing on the edges
- Verify there are no oscillations or movements
- Tighten the feet lock nuts once level is achieved
6 Sealing
6.1 Perimeter Sealing
- Thoroughly clean the tub edge and wall with alcohol
- Apply masking tape on tub and wall to delimit the area
- Apply transparent or white sanitary silicone along the entire perimeter
- Smooth the bead with a damp spatula
- Remove the masking tape before the silicone dries
- Wait 24 hours before filling the tub
NOTE: Always use acetic sanitary silicone with anti-mold properties.
6.2 Complete Functional Test
- Fill the tub with water to normal use level
- Turn on the system from the control panel
- Activate the hydrotherapy pump and verify operation of all nozzles
- Check for unusual noises from the pump
- Test the heating system (if present) and verify it reaches the set temperature
- Activate the air pump (if present) and verify air jet operation
- Test all control panel functions
- Check chromotherapy operation (if present)
- Check proper operation of the control lock system
- Drain the tub and verify drainage time